
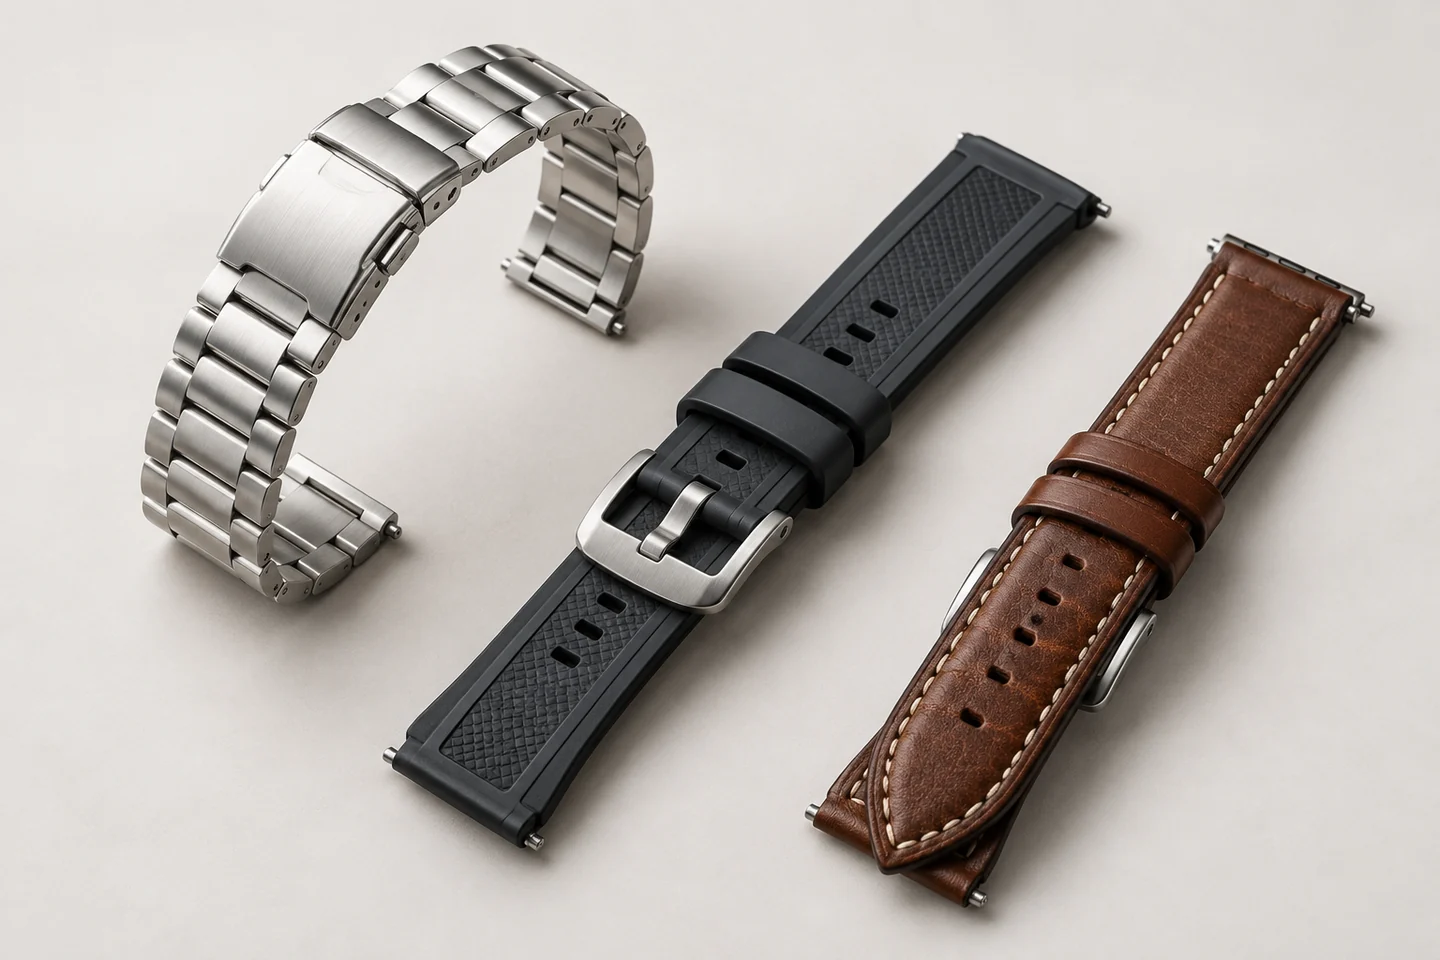
Turn an initial idea into a brief that aligns design, fit, materials and sample expectations.
Start with the wearer and the channel
A collection brief should explain who will wear the band and where it will be sold. Describe the intended use, preferred look, retail positioning and the number of styles you want to develop. A reference image helps communicate direction, but it should not replace a written description of the features that matter. Separate the details that are essential from the details you are willing to explore.
Define the fit before the finish
Record the target watch or connector system, the dimensions you already know and the intended wrist-size range. Include the closure type, adjustment method and any left/right orientation. If compatibility has not yet been checked, mark it as an open item. Do not assume that a matching nominal width guarantees the correct connector fit.
Create one specification for each variation
Give every combination of material, color and hardware a clear variation name. State whether a reference is about color, texture, construction or overall styling. A finish image cannot establish a material grade. If you require a particular grade, put it in the written brief and request the appropriate supporting information.
Agree what the sample must answer
List the questions that the first sample should resolve: connector fit, closure operation, visual finish, comfort or logo placement. Decide who will review the sample and record feedback in one place. Keep the initial quantity separate from any expected repeat-order forecast. This makes the commercial discussion easier without treating a forecast as a confirmed order.
Plan the range as a matrix
Create a row for every proposed material, color, connector and length combination. Give each row a temporary project reference and a sample quantity. This makes it possible to compare a broad launch with a smaller first collection without losing track of which variants actually need development. Temporary references are planning labels, not product SKUs or proof of stock availability.
Separate the launch requirements from later options
Mark essential features and optional improvements. A new connector, new clasp, custom marking and bespoke box should each have an owner and approval point. If the desired launch date cannot accommodate all of them, the team can evaluate a staged release instead of silently removing requirements.
Build the quotation around the same revision
Send one current brief to the people preparing design, samples and pricing. Ask the quotation to identify what is included and what is excluded, especially tooling, marking setup, packaging and freight. Keep sample timing separate from production timing, and record which approval starts each stage. Update the brief when a decision changes rather than keeping the answer only in a chat thread.